Rocket.Chat 部署体验后,最大的感受是资源消耗高,搜索到基于 Matrix 的方案(Conduit + element.io),部署及体验记录如下。
Conduit 部署
部署文档参考:https://gitlab.com/famedly/conduit/-/blob/next/DEPLOY.md 如果你想要使用 Docker 部署,参考:https://gitlab.com/famedly/conduit/-/blob/next/docker/README.md
# x86_64 架构
$ sudo wget -O /usr/local/bin/matrix-conduit https://gitlab.com/famedly/conduit/-/jobs/artifacts/master/raw/build-output/linux_amd64/conduit?job=docker:master
$ sudo chmod +x /usr/local/bin/matrix-conduit
创建用户
$ sudo adduser --system conduit --no-create-home创建服务
sudo vim /etc/systemd/system/conduit.service
[Unit]
Description=Conduit Matrix Server
After=network.target

[Service]
Environment="CONDUIT_CONFIG=/etc/matrix-conduit/conduit.toml"
User=conduit
Group=nogroup
# On RHEL: Group=nobody
Restart=always
ExecStart=/usr/local/bin/matrix-conduit

[Install]
WantedBy=multi-user.target
载入最新配置
$ sudo systemctl daemon-reload创建存放配置的目录
sudo mkdir /etc/matrix-conduit创建配置文件 sudo vim /etc/matrix-conduit/conduit.toml,这里我只修改了必要项 server_name
[global]
# The server_name is the pretty name of this server. It is used as a suffix for user
# and room ids. Examples: matrix.org, conduit.rs

# The Conduit server needs all /_matrix/ requests to be reachable at
# https://your.server.name/ on port 443 (client-server) and 8448 (federation).

# If that's not possible for you, you can create /.well-known files to redirect
# requests. See
# https://matrix.org/docs/spec/client_server/latest#get-well-known-matrix-client
# and
# https://matrix.org/docs/spec/server_server/r0.1.4#get-well-known-matrix-server
# for more information

# YOU NEED TO EDIT THIS
server_name = "your.server.name"

# This is the only directory where Conduit will save its data
database_path = "/var/lib/matrix-conduit/"
database_backend = "rocksdb"

# The port Conduit will be running on. You need to set up a reverse proxy in
# your web server (e.g. apache or nginx), so all requests to /_matrix on port
# 443 and 8448 will be forwarded to the Conduit instance running on this port
# Docker users: Don't change this, you'll need to map an external port to this.
port = 6167

# Max size for uploads
max_request_size = 20_000_000 # in bytes

# Enables registration. If set to false, no users can register on this server.
allow_registration = true

allow_federation = true

# Server to get public keys from. You probably shouldn't change this
trusted_servers = ["matrix.org"]

#max_concurrent_requests = 100 # How many requests Conduit sends to other servers at the same time
#log = "warn,state_res=warn,rocket=off,_=off,sled=off"

address = "127.0.0.1" # This makes sure Conduit can only be reached using the reverse proxy
#address = "0.0.0.0" # If Conduit is running in a container, make sure the reverse proxy (ie. Traefik) can reach it.
设置文件权限
$ sudo chown -R root:root /etc/matrix-conduit
$ sudo chmod 755 /etc/matrix-conduit
$ sudo mkdir -p /var/lib/matrix-conduit/
$ sudo chown -R conduit:nogroup /var/lib/matrix-conduit/
# Ubunut,On RHEL: sudo chown -R conduit:nobody /var/lib/matrix-conduit/
$ sudo chmod 700 /var/lib/matrix-conduit/配置反向代理(Nginx)
如果你有域名,可以使用 certbot 或者 acme.sh 签发免费 Let's Encrypt 证书。
我在国内机器没有绑定域名,直接使用的 IP 地址,需要注意⚠️,Element 客户端不支持 HTTP,必须要 HTTPS,使用 https://zerossl.com/ 申请免费 IP 证书即可。
sudo vim /etc/nginx/conf.d/matrix.conf
server {
    listen 443 ssl http2;
    listen [::]:443 ssl http2;
    listen 8448 ssl http2;
    listen [::]:8448 ssl http2;

    server_name 11.22.33.44;

    client_max_body_size 20M;

    location /_matrix/ {
        proxy_pass http://127.0.0.1:6167$request_uri;
        proxy_set_header Host $http_host;
        proxy_buffering off;
    }

    ssl_certificate /etc/ssl/certificate.crt; # EDIT THIS
    ssl_certificate_key /etc/ssl/private.key; # EDIT THIS
}
重启 Nginx
$ sudo systemctl restart nginx启动 Conduit服务
$ sudo systemctl start conduit

# 开机启动
$ sudo systemctl enable conduit
测试访问
$ curl https://your.server.name/_matrix/client/versions输出
{"versions":["r0.5.0","r0.6.0","v1.1","v1.2"],"unstable_features":{"org.matrix.e2e_cross_signing":true}}%能通则可进一步使用 https://app.element.io/
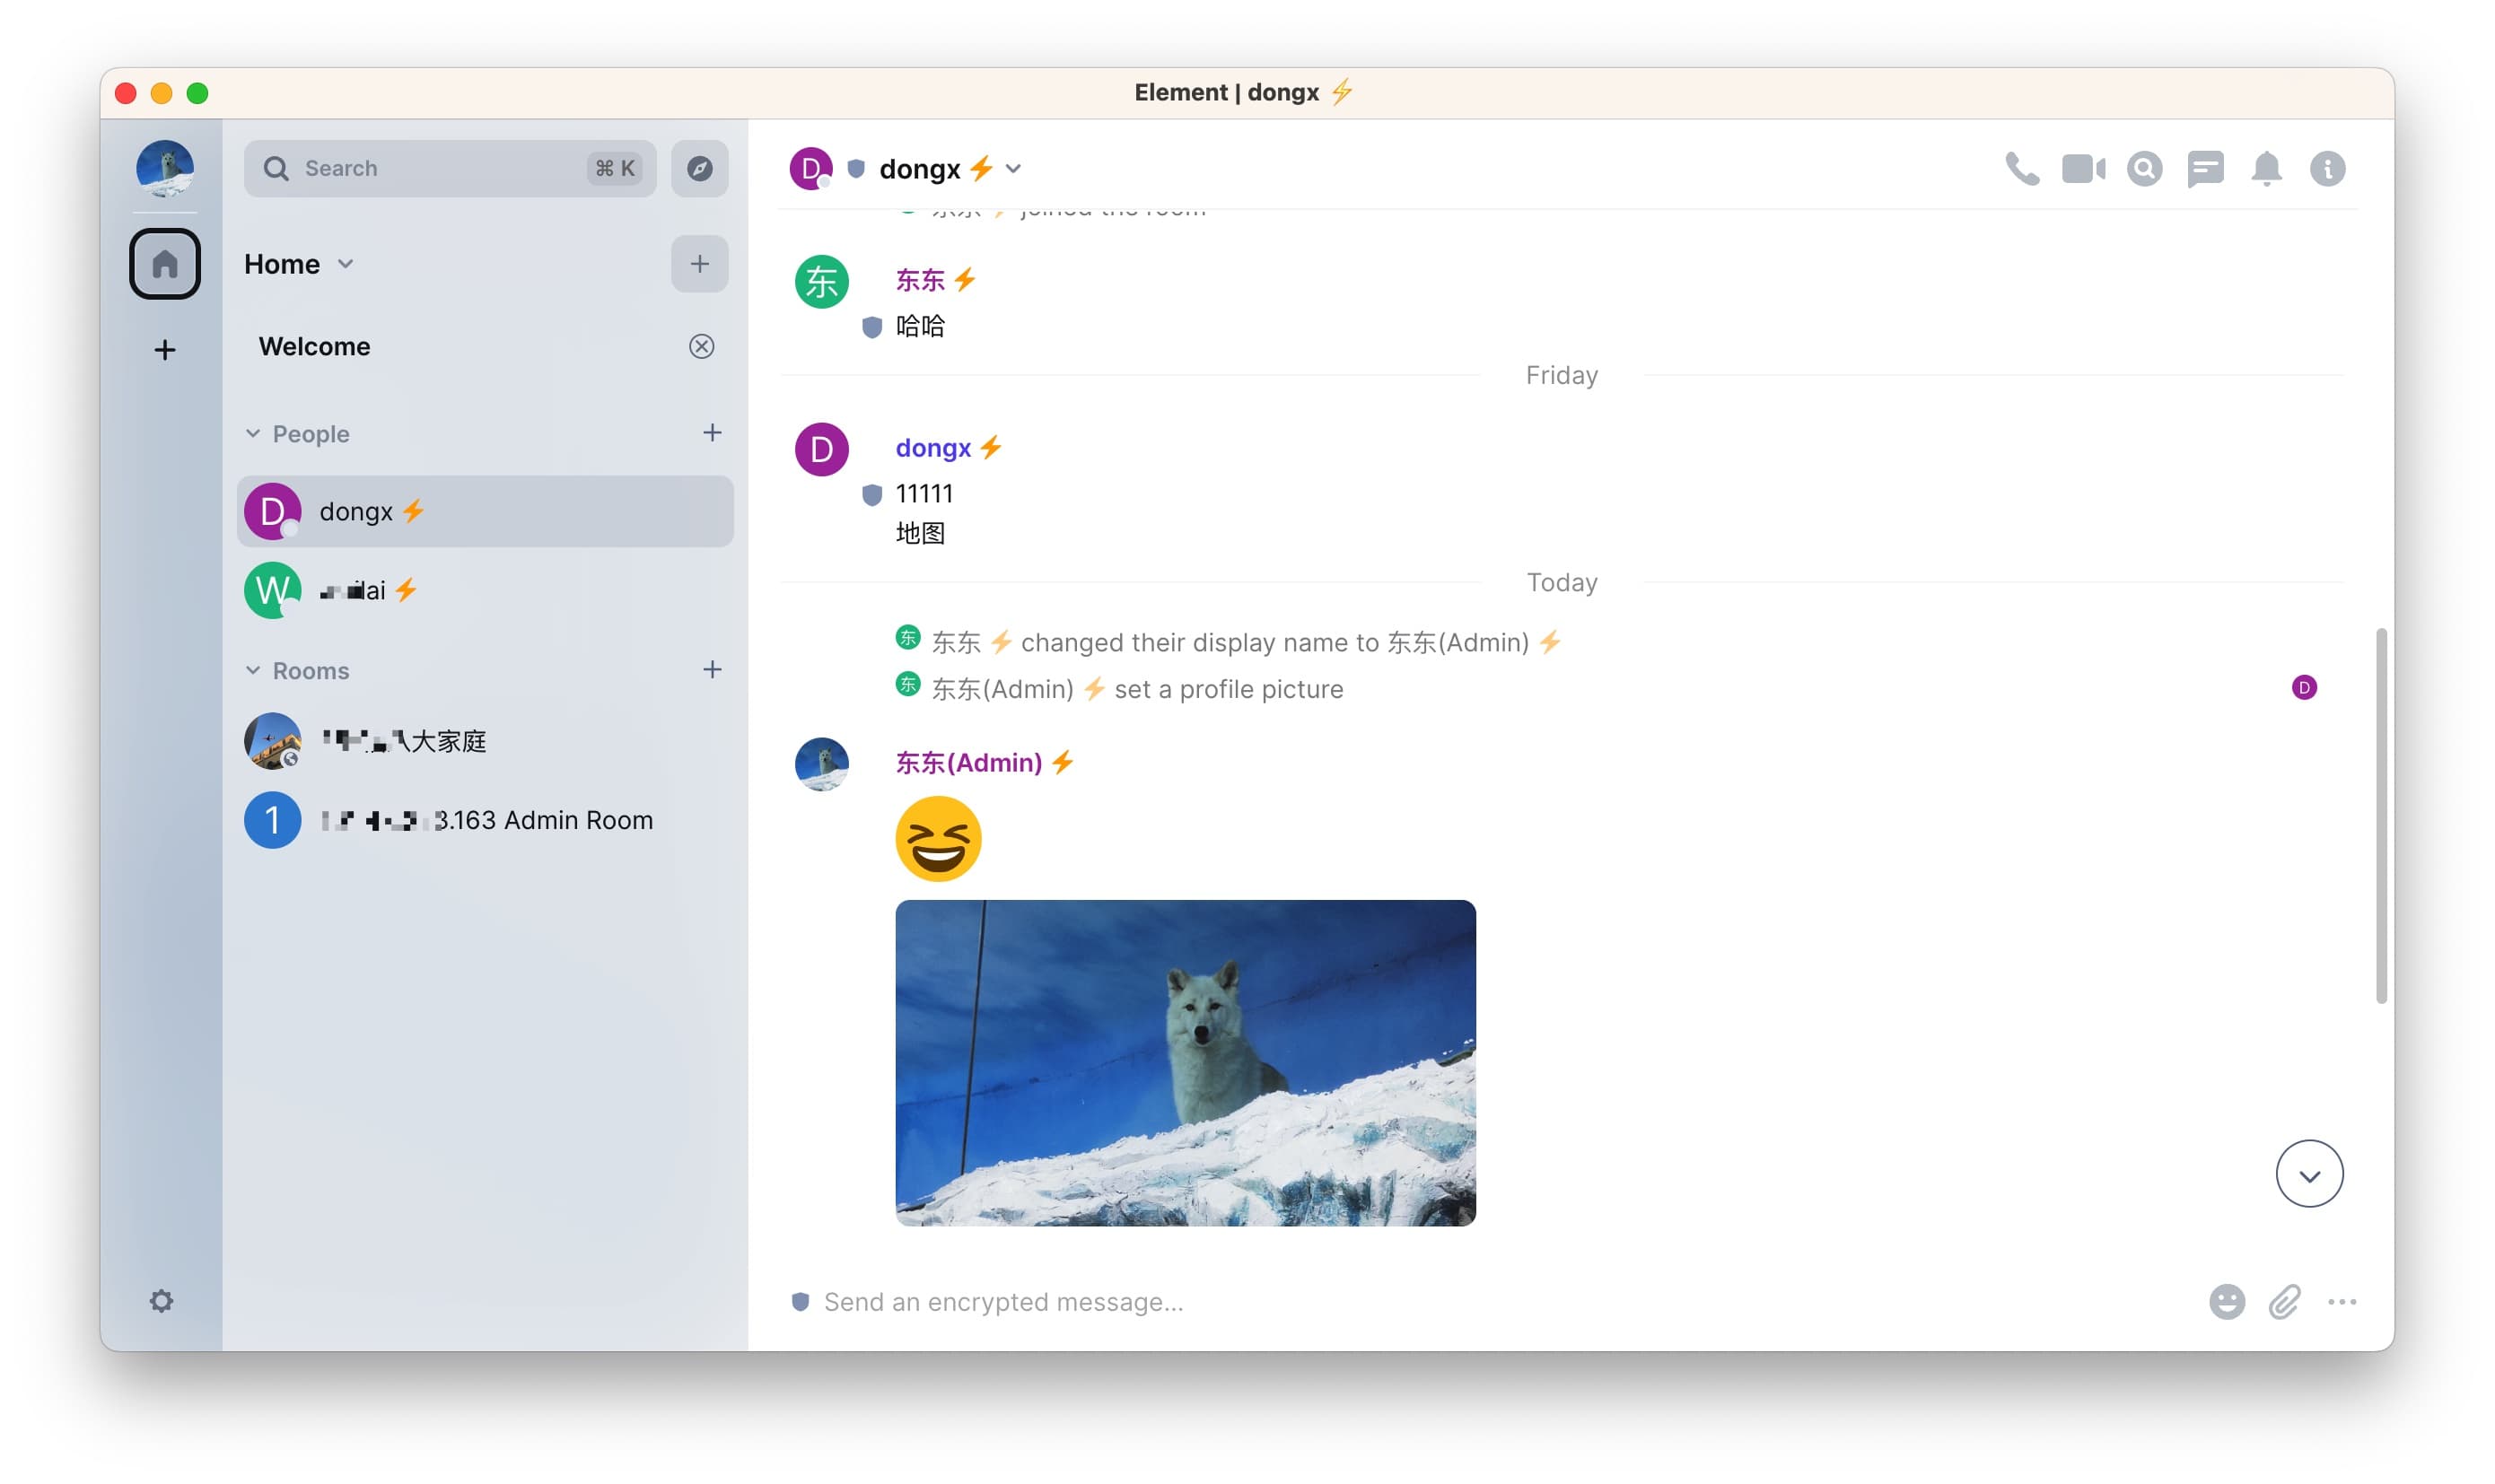
点击编辑,输入自己的 IP / 域名切换地址后,即可创建用户并登入。
服务端资源消耗很低

这里的内存占用还包含有腾讯的云镜。
文件和附件存储在本地

目前 Conduit 尚不支持 S3 存储资源文件。
使用体验
- 使用 Conduit 作为服务端资源占用极低,但同样 Conduit 还在开发,当前只能满足基础功能,日常够用。
- 搭配 element.io 客户端多平台使用,页面美观,文件图片上传等细节做的比 Rocket.Chat 好一些。
- 最大的问题是 element.io IOS 版本在国内应用商店无法下载,且默认使用的 matrix.org 服务器,会等待很久后触发超时。
- macOS 下客户端启动后,会重新下载图片,实测影响体验。
- 另外因为 Conduit 还未开发完成,现在存储只支持 rocksdb 或 sqlite,不支持 S3 存储媒体文件,期待 MR#384 能够合并。
整体体验优于 Rocket.Chat,期待未来基于 Rust 的 Conduit 功能更加丰富,element.io 也更加美观易用。