测试目标是每次提交代码后 Gitlab 会自动执行 Pipeline 运行单元测试和构建,虽然通过调用外部的 Jenkins 也可以实现,但 SCM 使用的是 Gitlab,通过 Gitlab 自己的 CI 运行会更适合些。
安装 Gitlab Runner
我是在 Kubernetes 中手动创建 Pod 作为 Gitlab Runner,参考的是「Linux 安装 Runner」,如果你需要在 Kubernetes 运行 Runner 长期使用,建议参考官方文档的「Kubernetes 安装 Runner」:
常用系统如 Ubuntu、Centos 等参考「Linux 安装 Runner」进行安装,Alpine 等其它系统参考「Linux 安装 Runner(手动)」
创建 Pod 当作服务器使用
使用 Ubuntu 作为 Runner
apiVersion: v1
kind: Pod
metadata:
  name: gitlab-runner-ubuntu
spec:
  containers:
    - name: ubuntu
      image: ubuntu:22.04
      command: ["tail"]
      args: ["-f", "/dev/null"]
通过源方式安装 Runner(推荐)
$ apt-get update && apt-get install curl wget

# 添加源
$ curl -L "https://packages.gitlab.com/install/repositories/runner/gitlab-runner/script.deb.sh" | bash

# 安装 Runner
$ apt-get install gitlab-runner
手动安装 Runner
$ curl -L --output /usr/local/bin/gitlab-runner https://gitlab-runner-downloads.s3.amazonaws.com/latest/binaries/gitlab-runner-linux-arm64
$ chmod +x /usr/local/bin/gitlab-runner
$ useradd --comment 'GitLab Runner' --create-home gitlab-runner --shell /bin/bash
$ gitlab-runner install --user=gitlab-runner --working-directory=/home/gitlab-runner
$ gitlab-runner start
自定义设置
我需要这个 Runner 构建 Golang 程序,所以需要先安装软件及配置
$ apt-get update

# 如果 go.dev 无法访问可以从 https://studygolang.com/dl/golang/go1.21.6.linux-arm64.tar.gz 下载
$ wget https://go.dev/dl/go1.21.6.linux-arm64.tar.gz
$ tar -xvf go1.21.6.linux-arm64.tar.gz
$ mv go /usr/local

# 需要切换到 gitlab-runner 用户,这是 Gitlab CI 使用的用户,否则做的修改在 CI 中的 Shell 是找不到的
$ su gitlab-runner
$ tee ~/.profile <<'EOF'
export GOROOT=/usr/local/go
export GOPATH=$HOME/go
export PATH=$GOPATH/bin:$GOROOT/bin:$PATH
EOF
$ source ~/.profile
安装 Redis 服务
$ apt install redis
$ nohup /usr/bin/redis-server /etc/redis/redis.conf --supervised systemd --daemonize no &
没有 systemctl 命令,所以直接启动Redis服务
注册 Runner 到 Gitlab
首先到 Gitlab 仓库页面 “Settings” - “CI/CD” - “Runners”
在 “Set up a specific runner manually” 可以找到 Host 地址及 registration token
然后回到 Runner 机器(注意⚠️以下命令是在 root 用户下执行的,非 gitlab-runner 用户)
$ gitlab-runner register --url https://<your-gitlab-host>/ --registration-token <your-registration-token>其它都默认即可,在 “Enter an executor” 时输入 shell
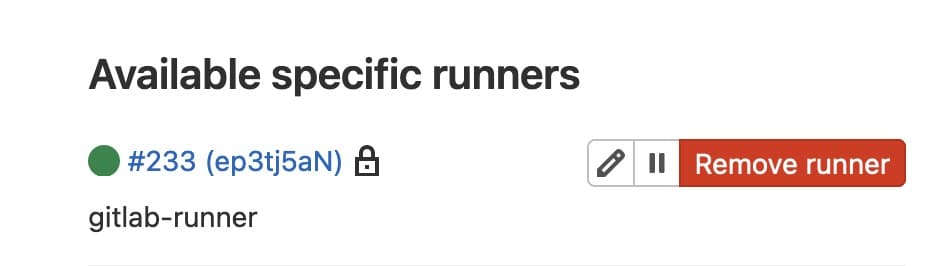
刷新 Gitlab 页面,可以看到 Runner 已注册
编写 Gitlab Pipeline
在 Git 项目根目录创建文件 .gitlab-ci.yml,内容如下:
stages:
  - build
  - test

build:
  stage: build
  script:
    - go build -o myapp

test:
  stage: test
  script:
    - go test ./...
提交即可触发 Gitlab CI 执行
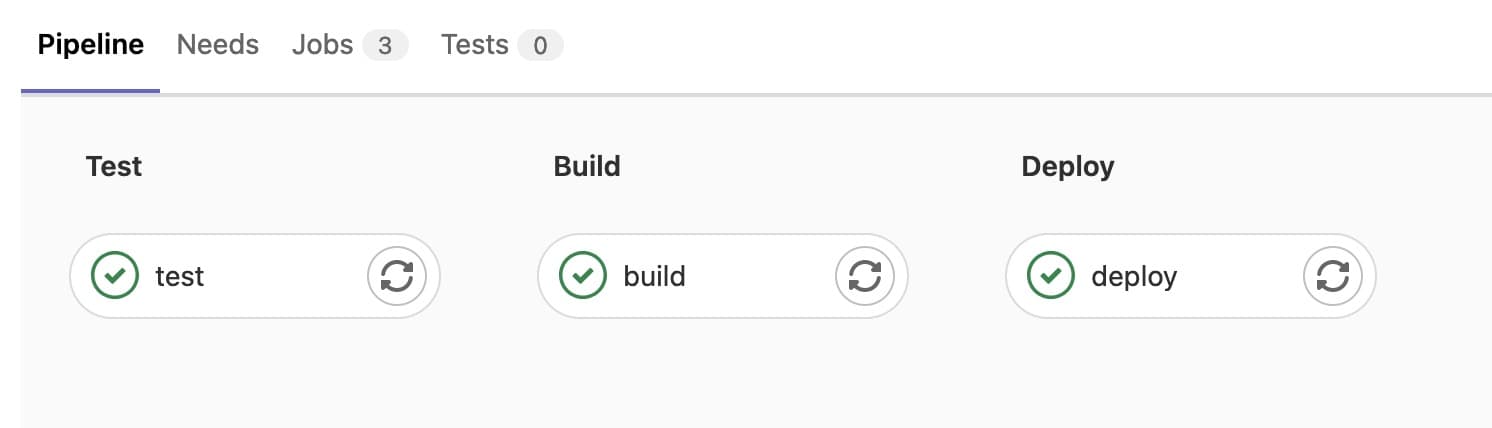
在 Commit 页面也可以看到 Pipeline 执行成功的绿色对号

补充
gitlab-runner 运行时会自动加载 ~/.profile 如果是自定义的环境变量在 ~/.bashrc 需要在 Pipeline 文件的顶部添加以下内容,全局生效
before_script:
  - test -f ~/.bashrc && source ~/.bashrc
条件选择,如果分支为 develop 则执行部署步骤,否则跳过。
deploy:
  stage: deploy
  script:
    - echo "Deploying"
    - echo "$CI_COMMIT_REF_NAME"
  rules:
    - if: '$CI_COMMIT_REF_NAME == "develop"'
      when: always
    - when: never
补充: Specific runner 可以注册到多个 Gitlab 仓库
Runner 与 Gitlab 仓库是一对多的关系,可以在机器上执行多次 gitlab-runner register ... 指令将 Gitlab Runner 注册到多个仓库
查看 /etc/gitlab-runner/config.toml 配置文件,看到有两个 Runner 配置
concurrent = 1
check_interval = 0
shutdown_timeout = 0

[session_server]
  session_timeout = 1800

[[runners]]
  name = "gitlab-runner"
  url = "https://<your-gitlab-host>/"
  id = 233
  token = "<token-1>"
  token_obtained_at = 2024-01-18T09:07:55Z
  token_expires_at = 0001-01-01T00:00:00Z
  executor = "shell"

[[runners]]
  name = "gitlab-runner"
  url = "https://<your-gitlab-host>/"
  id = 234
  token = "<token-2>"
  token_obtained_at = 2024-01-19T08:24:25Z
  token_expires_at = 0001-01-01T00:00:00Z
  executor = "shell"
  [runners.cache]
    MaxUploadedArchiveSize = 0
如果手动修改配置文件,需要执行 gitlab-runner restart 重新加载
总结
设置环境变量时,需要先在机器上切换为 gitlab-runner 用户,将自定义的环境变量放在 ~/.profile 中,CI 在执行时可以自动加载。