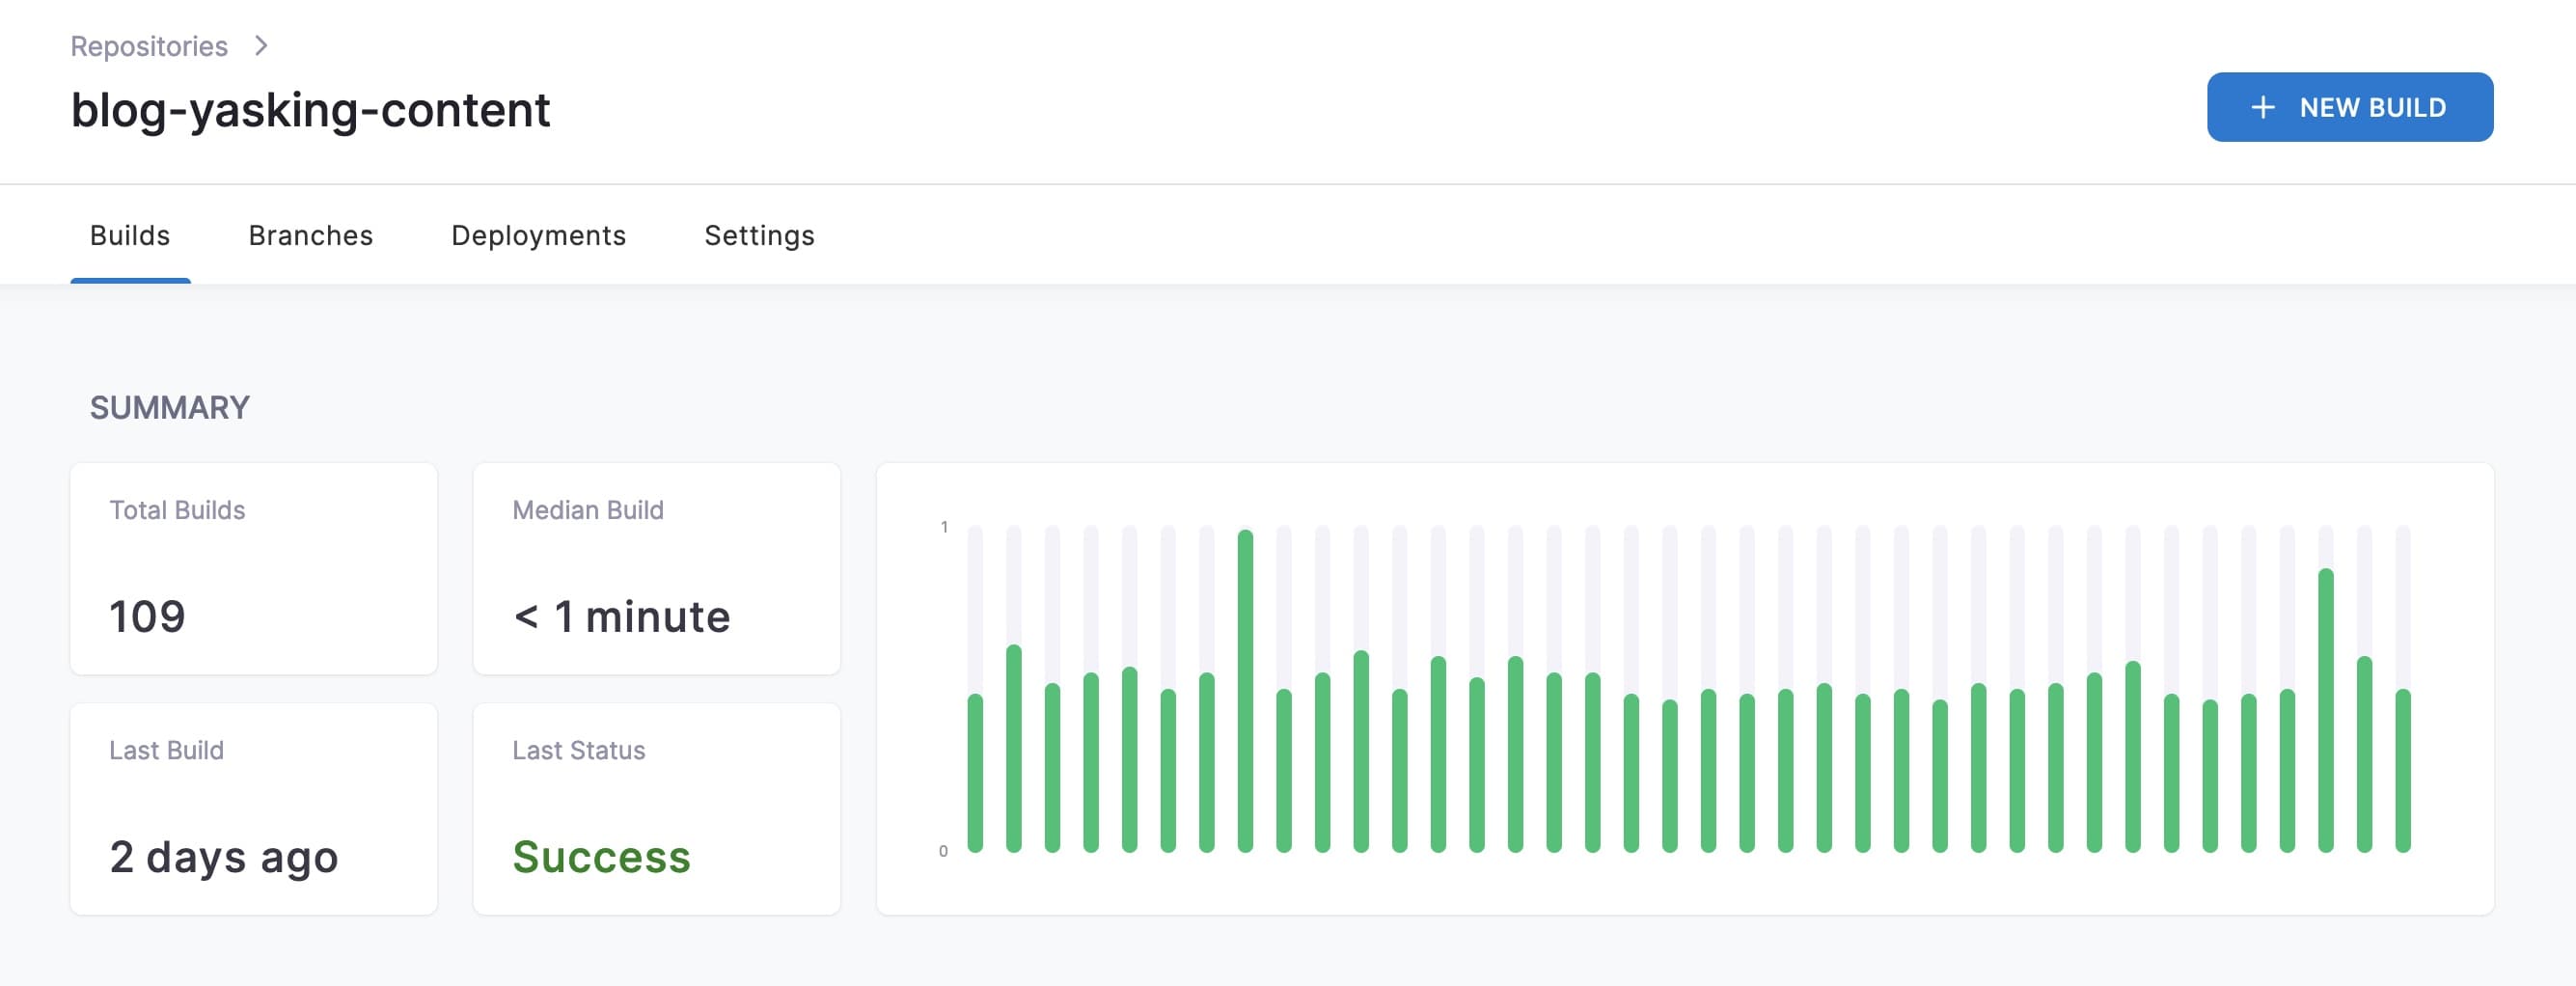
之前发布文章的流程比较繁琐,一直想要自动化这一过程,权衡了多个 CI/CD 工具,决定尝试下 Drone,它的资源占用率很低,可以跑在我国外的小机器上。
Drone 支持 Github、Gitlab、等多个 SCM 服务,本文以 Github 为例,需要注意的是,一个 Drone 同时只支持一个 SCM,如果你想同时使用 Github 和 Gitlab,需要部署两套 Drone
Github 创建 APP
参考:https://docs.drone.io/server/provider/github/
Step 1:Preparation
创建一个 OAuth Application
获得 Key
Client ID: <your-github-oauth-client-id>
Client secret:<your-github-oauth-client-secret>
创建一个 Shared Secret
用于 runners 和 drone 服务的通信
➜ openssl rand -hex 16
<your-drone-rpc-secret>
Step 2:Download
$ docker pull drone/drone:2Step 3:Configuration
各项配置含义
Step 4:Start the Server
$ docker run \
  --volume=/var/lib/drone:/data \
  --env=DRONE_GITHUB_CLIENT_ID=<your-github-oauth-client-id> \
  --env=DRONE_GITHUB_CLIENT_SECRET=<your-github-oauth-client-secret> \
  --env=DRONE_RPC_SECRET=<your-drone-rpc-secret> \
  --env=DRONE_SERVER_HOST=drone.yasking.org \
  --env=DRONE_SERVER_PROTO=http \
  --env=DRONE_USER_CREATE=username:sincerefly,admin:true \
  --publish=80:80 \
  --publish=443:443 \
  --restart=always \
  --detach=true \
  --name=drone \
  drone/drone:2
安装 Runner
参考:https://docs.drone.io/runner/overview/
docker run --detach \
  --volume=/var/run/docker.sock:/var/run/docker.sock \
  --env=DRONE_RPC_PROTO=http \
  --env=DRONE_RPC_HOST=drone.yasking.org \
  --env=DRONE_RPC_SECRET=<your-drone-rpc-secret> \
  --env=DRONE_RUNNER_CAPACITY=2 \
  --env=DRONE_RUNNER_NAME=drone-runner \
  --publish=3000:3000 \
  --restart=always \
  --name=runner \
  drone/drone-runner-docker:1
使用 Github 登录 Drone 即可使用。
改造前后
优化前
- 使用 Markdown 编辑器编辑文章;
- 如使用到图片,到 TinyPng 网站进行压缩;
- 手动上传图片到又拍云存储;
- 将写好的博文
scp上传到服务器; - 执行几条命令生成博客静态文件,推送到又拍云 CDN;
- 将博文 Markdown 文件备份到网盘;
- 如发现错别字及图片大小问题,重复上述步骤;
优化后
- 使用 Markdown 编辑器编辑文章;
- 如使用到图片,通过 PicGo 压缩后上传到又拍云存储;
- 将写好的博文提交到 Github 私有仓库;
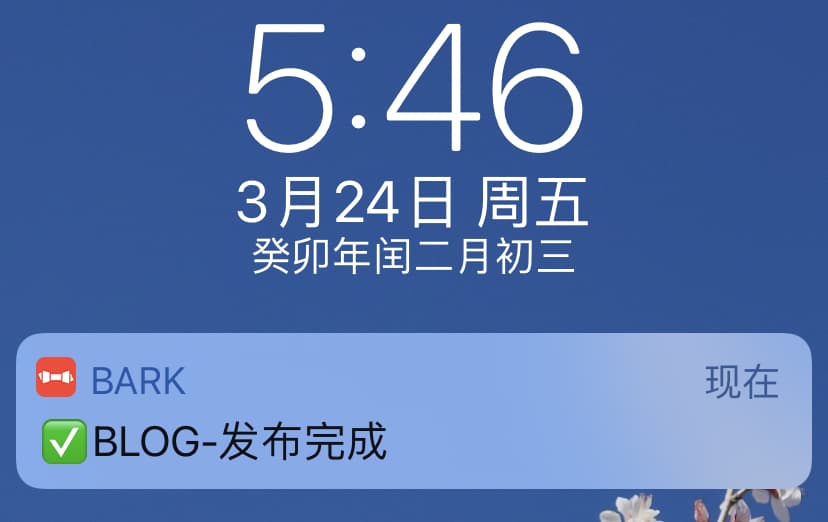
- ⌛️等待 Drone 自动生成静态页并发布,✅收到 Bark 发布成功通知;
- 如发现错别字及图片大小问题,重复上述步骤;
配置示例
将 .drone.yml 放置在 Github 项目根目录,后续发布文章提交到 Github 都会触发 Drone 的自动构建。
kind: pipeline
type: docker
name: greeting

clone:
  depth: 1

steps:
- name: content
  image: alpine
  commands:
  - /bin/sh prepare-content.sh

- name: build
  image: python:3.7-alpine
  commands:
  - /bin/sh prepare-pelican.sh
  - /bin/sh build.sh

- name: publish
  image: python:3.7-alpine
  commands:
  - ./apply-cache.sh
  - /bin/sh prepare-upx.sh
  - /bin/sh publish.sh
  - ./restore-cache.sh
  volumes:
  - name: cache
    path: /drone/cache-data

- name: notifier
  image: curlimages/curl
  commands:
  - /bin/sh notifier.sh

volumes:
  - name: cache
    host:
      path: /var/lib/cache
几个 Steps 解释
- prepare-content.sh 负责用 Github 仓库中的文章替换掉程序执行目录的文章
- prepare-pelican.sh 安装 pelican 静态博客生成工具
- build.sh 使用 pelican 生成静态文件
- apply-cache.sh 如果 cache 中存在 upx 工具的缓存则应用
- prepare-upx.sh 安装 upx 工具
- publish.sh 使用 upx 同步静态文件到又拍云
- restore-cache.sh 将当前目录的 upx 缓存再同步到 cache
prepare-content.sh
rm -rf pyblog/content/markdown/Technology
rm -rf pyblog/content/markdown/Photos
cp -r articles/Technology pyblog/content/markdown/
cp -r articles/Photos pyblog/content/markdown/
prepare-pelican.sh
python3 --version
python3 -m pip install "pelican[markdown]"
build.sh
进到程序目录执行生成命令
cd pyblog
pelican
cd ..
apply-cache.sh
FILE='/drone/cache-data/.upx.cfg'
if [ -f "$FILE" ]; then
    echo "$FILE exists."
    cp /drone/cache-data/.upx.cfg ~/
fi

DIR='/drone/cache-data/.upx.db'
if [ -d "$DIR" ]; then
    echo "$DIR exists."
    cp -R /drone/cache-data/.upx.db ~/
fi
prepare-upx.sh
your-bucket、operator、password 替换为 upx 的正确值,另外这里的 login,可以通过判断 upx 生成的文件来判断是否已登录过
mkdir downloads
cd downloads
wget https://collection.b0.upaiyun.com/softwares/upx/upx_0.3.6_linux_x86_64.tar.gz
tar xvf upx_0.3.6_linux_x86_64.tar.gz
cp upx /usr/local/bin
chmod +x /usr/local/bin/upx
upx login your-bucket operator password
cd ..
upx --version
publish.sh
cd pyblog
upx sync output /
cd ..
restore-cache.sh
ls /drone/cache-data/
rm -rf /drone/cache-data/.upx.cfg
rm -rf /drone/cache-data/.upx.db

FILE="$HOME/.upx.cfg"
if [ -f "$FILE" ]; then
    echo "$FILE exists."
    cp ~/.upx.cfg /drone/cache-data/
fi

DIR="$HOME/.upx.db"
if [ -d "$DIR" ]; then
    echo "$DIR exists."
    cp -R ~/.upx.db /drone/cache-data/
fi
notifier.sh
curl http://150.230.XX.XXX:8123/QdDChCnUMWnoEgASy7YxTE/✅BLOG-博客发布完成手机收到通知(使用 Bark)
关于本次优化
- 使用 Drone 搭配 PicGo 上传图片后,发布文章便捷性有了很大的提升,整理博文的热情也有所提升
- Drone 页面操作体验比 Jenkins 好很多,很轻量,不臃肿
- PicGo 使用的 compress 1.4.0 插件,imagemin 压缩方式
- 现在的配置 Steps 写的比较粗糙,还有不少优化空间,总之是先跑起来
后续优化会在这里追加补充
2023-04-07 补充漏记项
- 创建 Volume 用于缓存数据
$ sudo docker volume create cache- 项目设置时,需要打开 Trusted 开关
位置在 Settings - Project Settings - Trusted,打开开关,保存
如果没看到 Trusted 开关,需要在启动服务的时候指定 admin 管理员