前些天学习 HomeBrew 的常用命令(Homebrew 常用命令使用指北) ,了解到 Formula 是用 Ruby 编写的脚本,将脚本放到 Github 仓库,就实现了一个自定义 Tap 存储库,本篇将以我的测试 Demo easycmd 为例,制作一个 Formula 脚本,之后可以使用 brew 命令安装 easycmd
备注:Easycmd 是使用 Golang 编写的 Demo 类的工具,除用于测试、演示外,目前并没有其它功能。
编写脚本
脚本参考自 brew - yq 的 Formula 脚本 yq.rb
class Easycmd < Formula
  desc "A terminal tool sample "
  homepage "https://github.com/sincerefly/easycmd/"
  url "https://github.com/sincerefly/easycmd/archive/refs/tags/v0.0.4.tar.gz"
  sha256 "79d9b7b9fc28c1cb47ecc5c14da2e911b7da96481f043e87ec1376ca82f7f363"
  license "MIT"
  head "https://github.com/sincerefly/easycmd.git", branch: "master"

  bottle do
    root_url "https://dd-public-bucket.s3.bitiful.net/homebrew-bottles/easycmd/v0.0.4"
    #sha256 cellar: :any_skip_relocation, arm64_sonoma:   "bc36b4b41929e9e689befbecb557dbf7acf6c743ca17809f65a109ef23833c0b"
    sha256 cellar: :any_skip_relocation, arm64_ventura:  "1ec122e6913fd32af03092a2e7b3897cc77090003373f165072ab019daa2d68c"
    #sha256 cellar: :any_skip_relocation, arm64_monterey: "1d652cf11ad65dac1d8c772168f62ca6e672ee61f69f9c47b5a46819089f1cfe"
    #sha256 cellar: :any_skip_relocation, sonoma:         "3f23e27ff4f8ea8a39b07ae5b7d808d5a5cbc548124b56154c0b08585737eb23"
    #sha256 cellar: :any_skip_relocation, ventura:        "ccbd38a9b07256344d78bd127fb66f4d2b0f4831385d7458f5e36bed8f796548"
    #sha256 cellar: :any_skip_relocation, monterey:       "85a5394913a5734cef1fc388eee37e4dfb21c69e4414c8c658b8e04cb9963262"
    #sha256 cellar: :any_skip_relocation, x86_64_linux:   "8642969ca0738f0a4e632ee2877edf601e2747220460b29e8ab3368ff3e80a0e"
  end

  depends_on "go" => :build

  def install
    system "make", "build"

    bin.install "easycmd"
  end

  def post_install

    # Make sure runtime directories exist
    (var/"lib/easycmd").mkpath
    (var/"log/easycmd").mkpath
  end

  def caveats
    s = <<~EOS
      Data:    #{var}/lib/easycmd/
      Logs:    #{var}/log/easycmd/easycmd.log
      Config:  #{etc}/easycmd/
    EOS

    s
  end

  test do
    output = shell_output("#{bin}/easycmd --version").chomp
    assert output.start_with?("easycmd ")
  end

end
将脚本的各字段修改为正确的值,例如:
- url 填写 github 仓库的代码下载路径,此处是 v0.0.4 的标签的源码,用于本地编译
- sha256 是 tar.gz 源码的哈希值,macOS 可以通过
shasum -a 256 v0.0.4.tar.gz计算得到 - bottle 是预编译的二进制文件,匹配到就会跳过源码编译,此处我只构建了 arm64_ventura 架构/系统的二进制文件,并计算得到其 sha256 哈希值填入,这里的 root_url 是我的自定义文件下载地址,文件名为 “easycmd-0.0.4.arm64_ventura.bottle.tar.gz”,稍后会进一步介绍 Bottle 压缩包
- depends_on 表示源码编译依赖 go 编译器
- def install 会在未匹配到 bottle 的时候执行
- bin.install "easycmd" 编译后生成的文件为 easycmd,bin.install 将其安装到 Brew 的 Cellar 目录
- post_install 预创建一些文件夹,程序中可以使用,无论使用 bottle 还是编译安装,post_install 都会执行
- caveats 是在 Console 控制台输出的提示性信息
- test 用于执行命令,测试是否安装成功
以上是一个完整的示例(非最小化示例),进一步修改代码可以参考 Github 上不同工具的 Formula Ruby 脚本
Bottle 压缩包制作
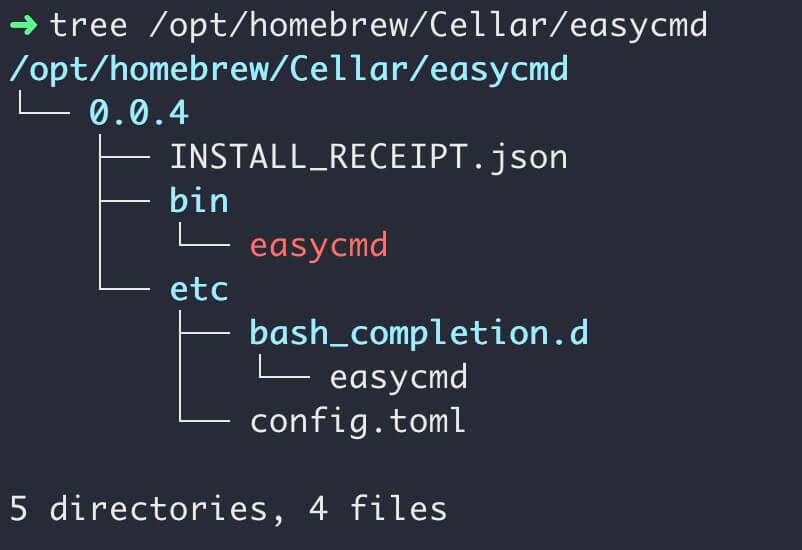
首先,构造一个目录结构,在 easycmd 文件夹下是工具版本:
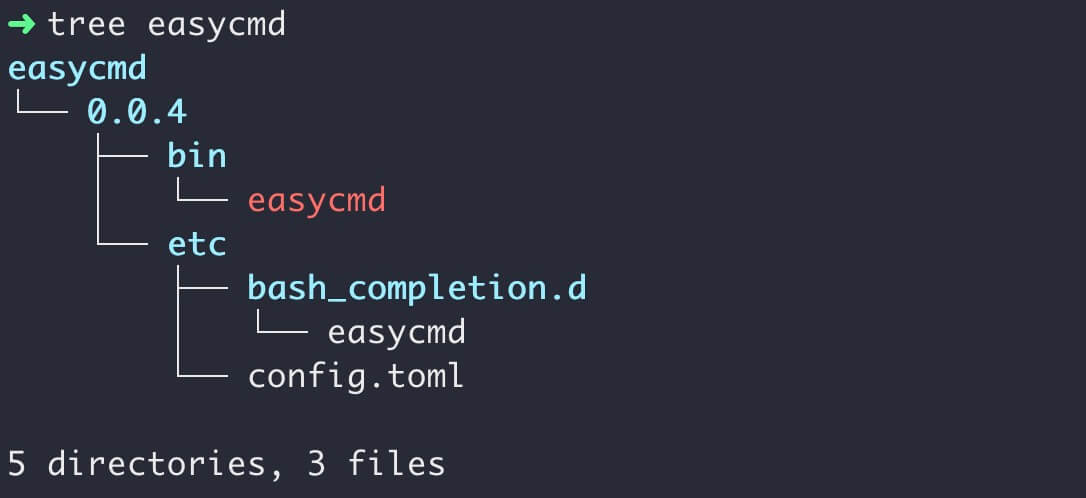
easycmd 是 arm64_ventura 架构平台下二进制程序,etc 下的 bash_completion.d 是 Bash 参数自动补全脚本,我是参考 yq 的脚本进行修改的(如果你使用 brew 安装了 yq 命令,那么这个补全脚本可以在 /opt/homebrew/Cellar/yq/4.43.1/etc 找到,注意替换路径中的版本)
bash_completion.d 是可选的,此处暂不介绍。
# 创建 Bottle 包
$ tar -czvf easycmd-0.0.4.arm64_ventura.bottle.tar.gz easycmd

# 计算 Bottle 包哈希值(用于填写在 rb 脚本的 Bottle 配置段)
$ shasum -a 256 ./easycmd-0.0.4.arm64_ventura.bottle.tar.gz
文件名为什么是 easycmd-0.0.4.arm64_ventura.bottle.tar.gz 而不是其它?
是因为我是在其安装时发现它使用的是 root_url + filename, 我没找到修改的命令,姑且认为这里的文件名不能手动指定,是 Brew 的约定俗成。
我把制作好的 Bottle 包上传到 Public 存储

最终路径是
https://dd-public-bucket.s3.bitiful.net/homebrew-bottles/easycmd/v0.0.4/easycmd-0.0.4.arm64_ventura.bottle.tar.gz上传 Formula 脚本
在上文编写的 ruby 脚本,将其 Bottle 的 Sha256 修改为刚刚计算得到的哈希值
创建 Github 仓库,例如我的测试仓库,名为 homebrew-easycmd
仓库中需要有一个 “Formula” 子文件夹,如果是 Cask 类型,则名为 “Cask”
将 easycmd.rb 文件上传
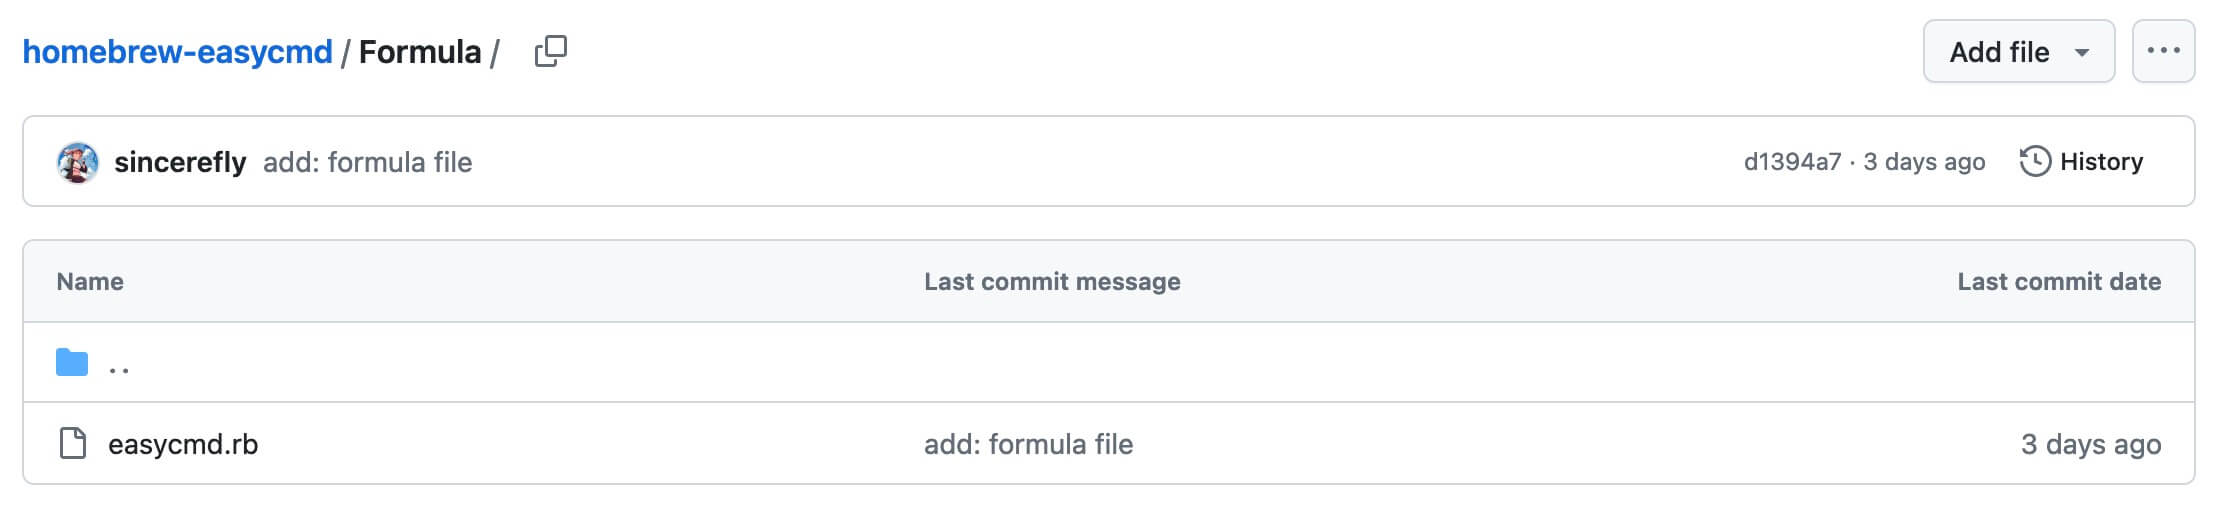
自定义的 Brew Tap 仓库即创建完成。
测试验证
添加仓库源
$ brew tap sincerefly/homebrew-easycmd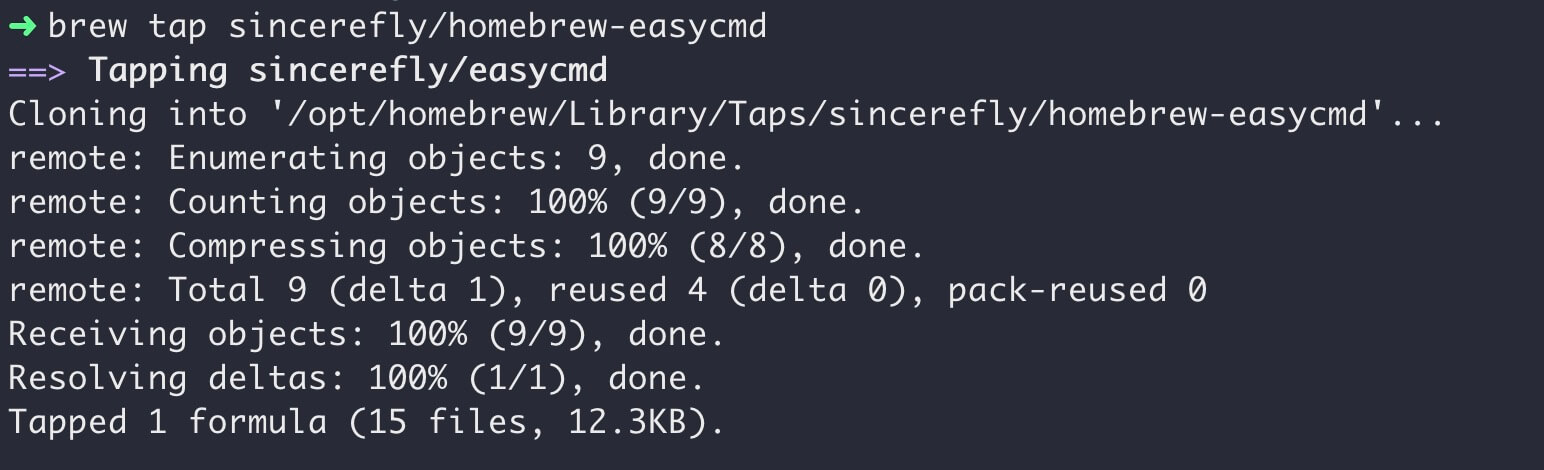
查看工具信息
$ brew info easycmd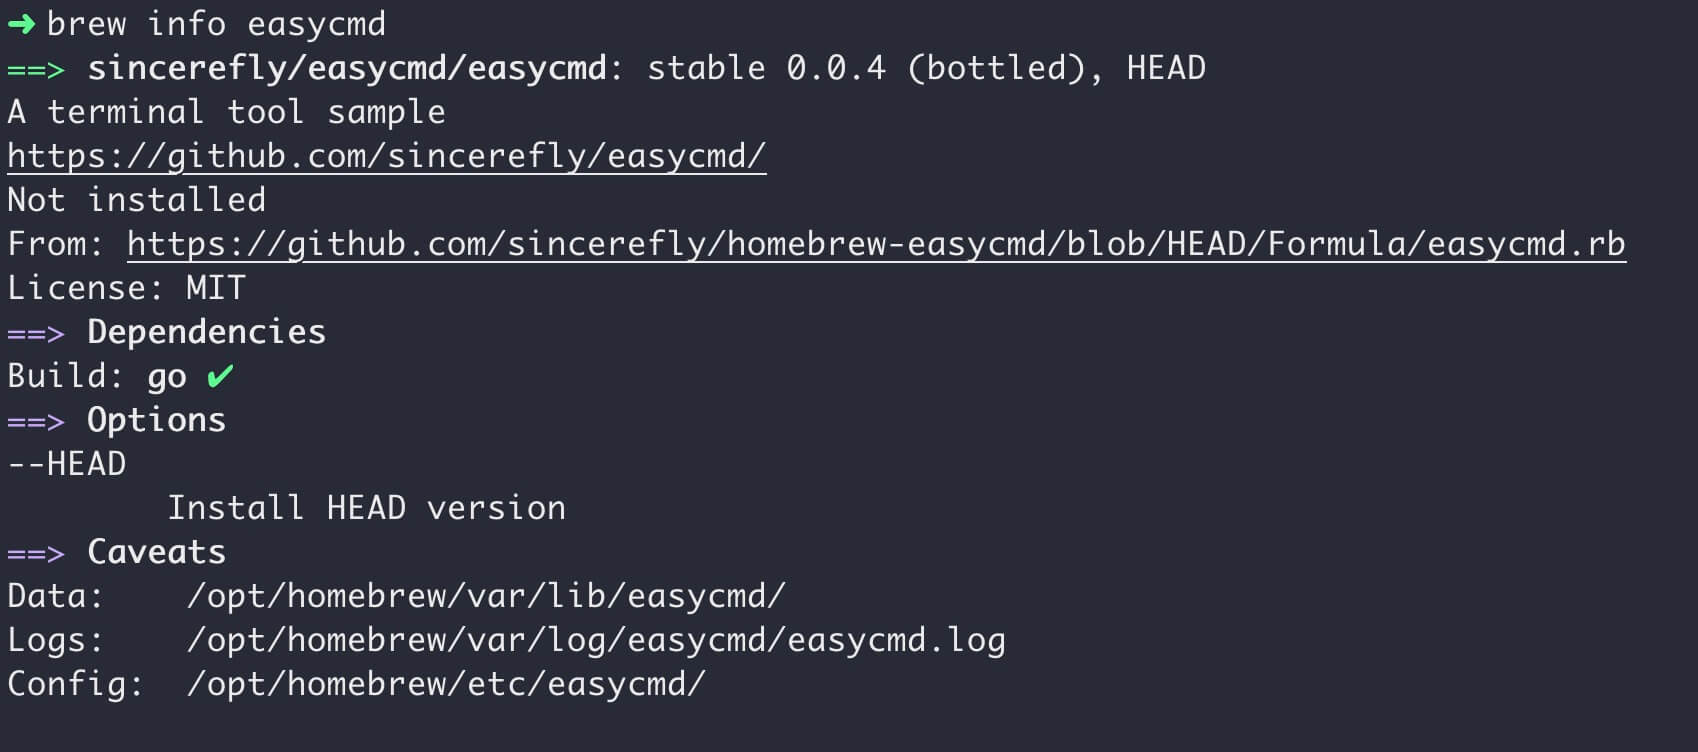
安装工具
$ brew install easycmd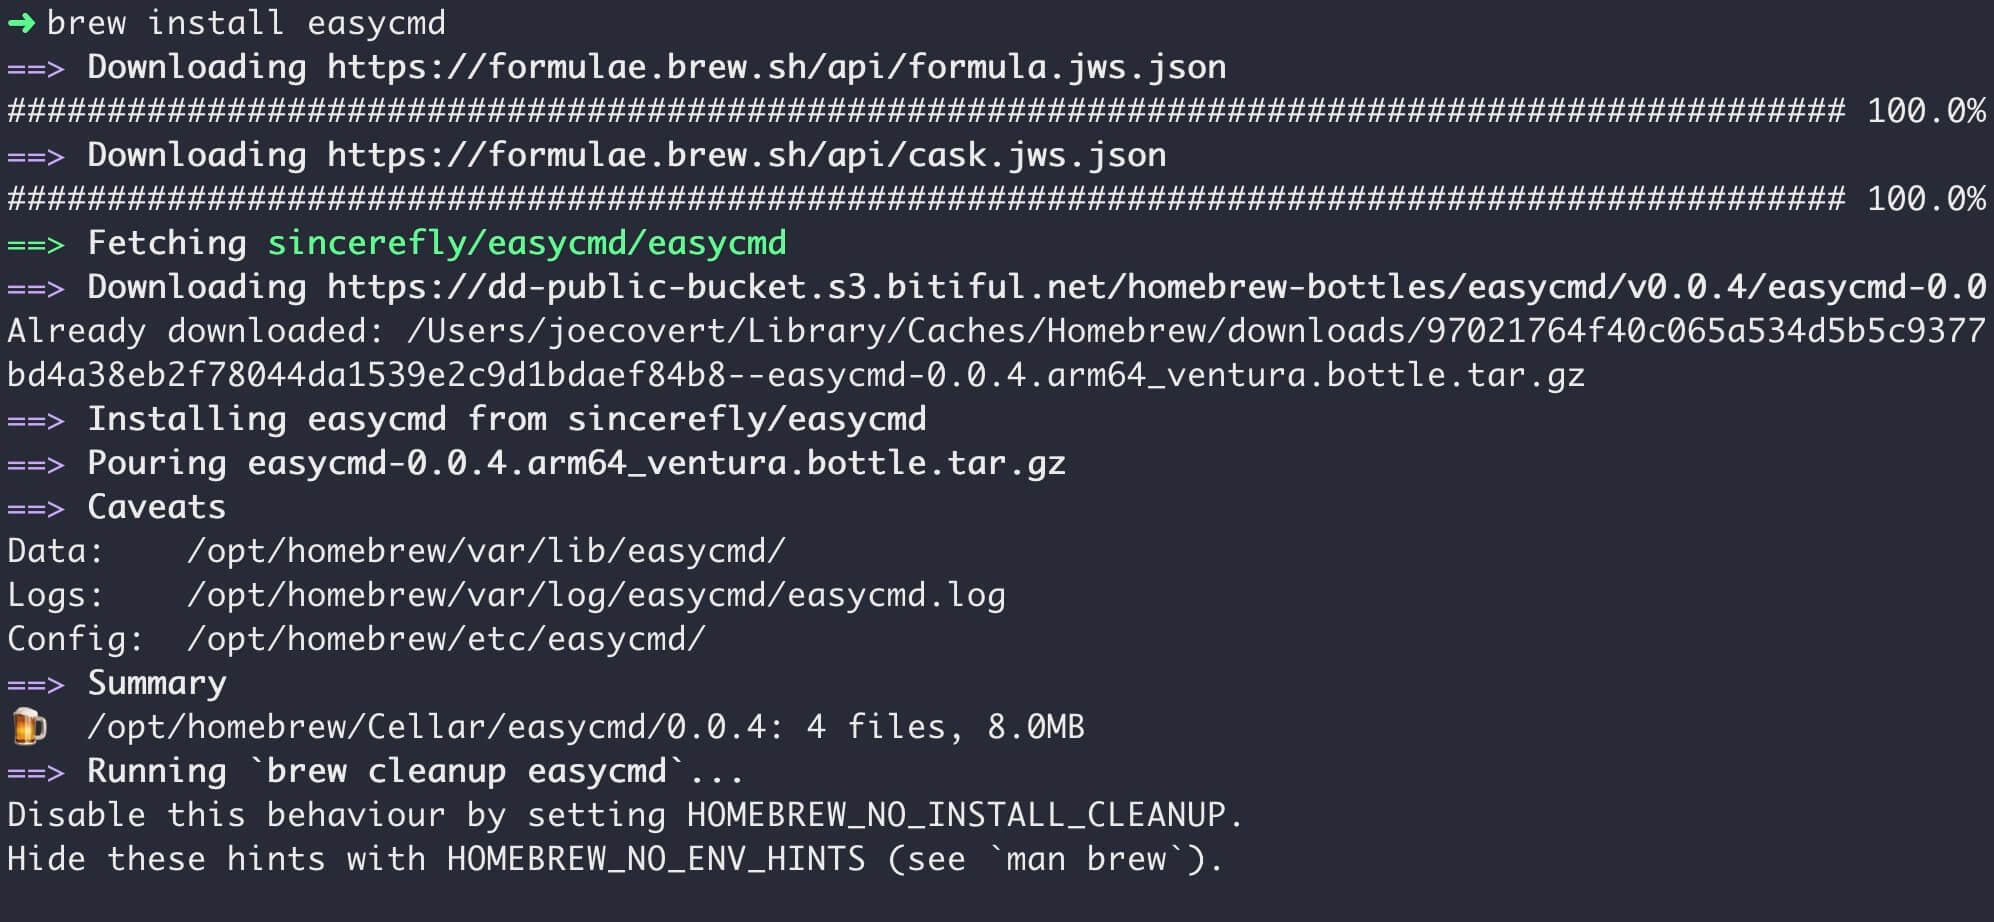
执行命令,正确输出
$ easycmd
2024/04/12 21:58:48 No config file used
hi,dong
根据上篇学习到的目录知识,对路径进行核对
/opt/homebrew/Cellar/easycmd
查看 opt 和 bin 目录下的软链接,均正确创建

如果需要测试从源码编译安装
$ brew install --build-from-source easycmd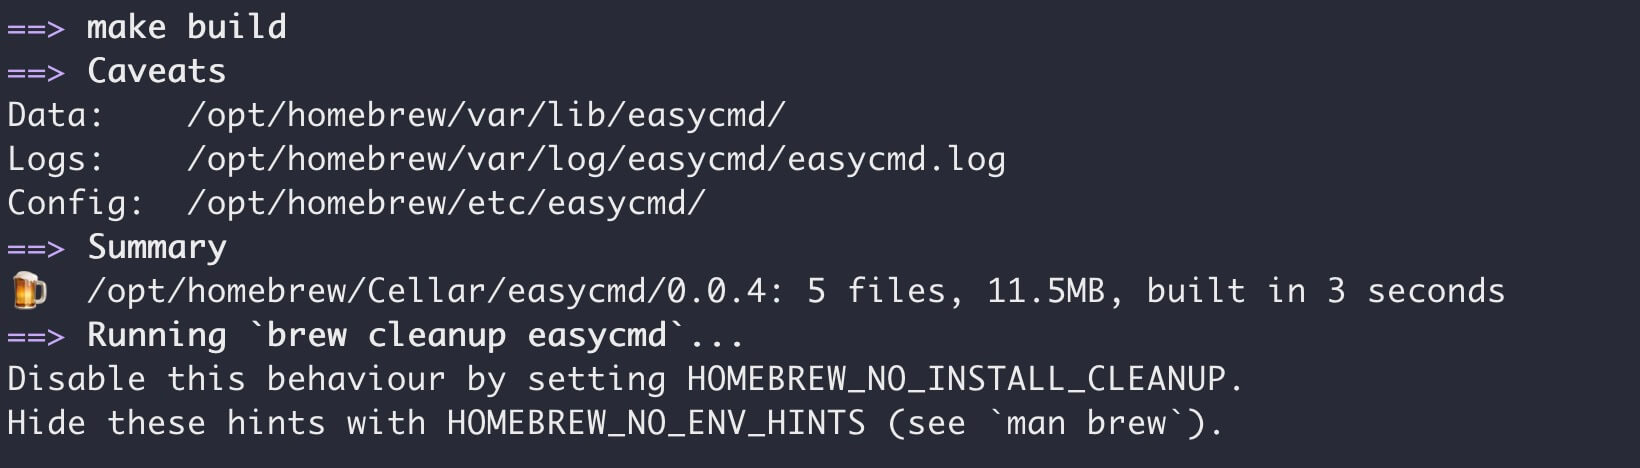
类比扩展
Cask 和 Formula 安装包类似,以下是一个 fuse-t 的示例,可以用来模仿制作 Cask 安装方案。
https://github.com/macos-fuse-t/homebrew-cask/blob/main/Casks/fuse-t.rb
cask "fuse-t" do
  version "1.0.36"
  sha256 "8102c334ba6bb8cd9ece59fa063b30f64f9a101b45fa5ca8fe1824d3f35b6b06"

  url "https://github.com/macos-fuse-t/fuse-t/releases/download/#{version}/fuse-t-macos-installer-#{version}.pkg"
  name "fuse-t"
  desc "LibFUSE implementation that doesn't use kernel extensions"
  homepage "https://github.com/macos-fuse-t/fuse-t"

  pkg "fuse-t-macos-installer-#{version}.pkg"

  uninstall script: {
    executable: "/Library/Application Support/fuse-t/uninstall.sh",
    sudo:       true,
  }

  caveats do
    license "https://github.com/macos-fuse-t/fuse-t/blob/main/License.txt"
  end
end
遗留问题
本文创建了一个基础的 Formula 示例,但离工程化的发布/维护 Brew 存储库还有很大距离,例如:
- 不同架构系统的 Bottle 如何便捷、自动分发
- 除自定义的 OSS 存储,还有哪些托管平台更适宜存储 Bottle 文件
- 如何将自己开发的工具提交到 Brew 官方源,有什么标准
- 如何维护工具的历史版本,Brew 在安装指定版本时的机制又是怎样的
待了解的内容还可以有很多,不过眼下没有软件需要分发,Brew 软件包的封装就先探索到这里。